
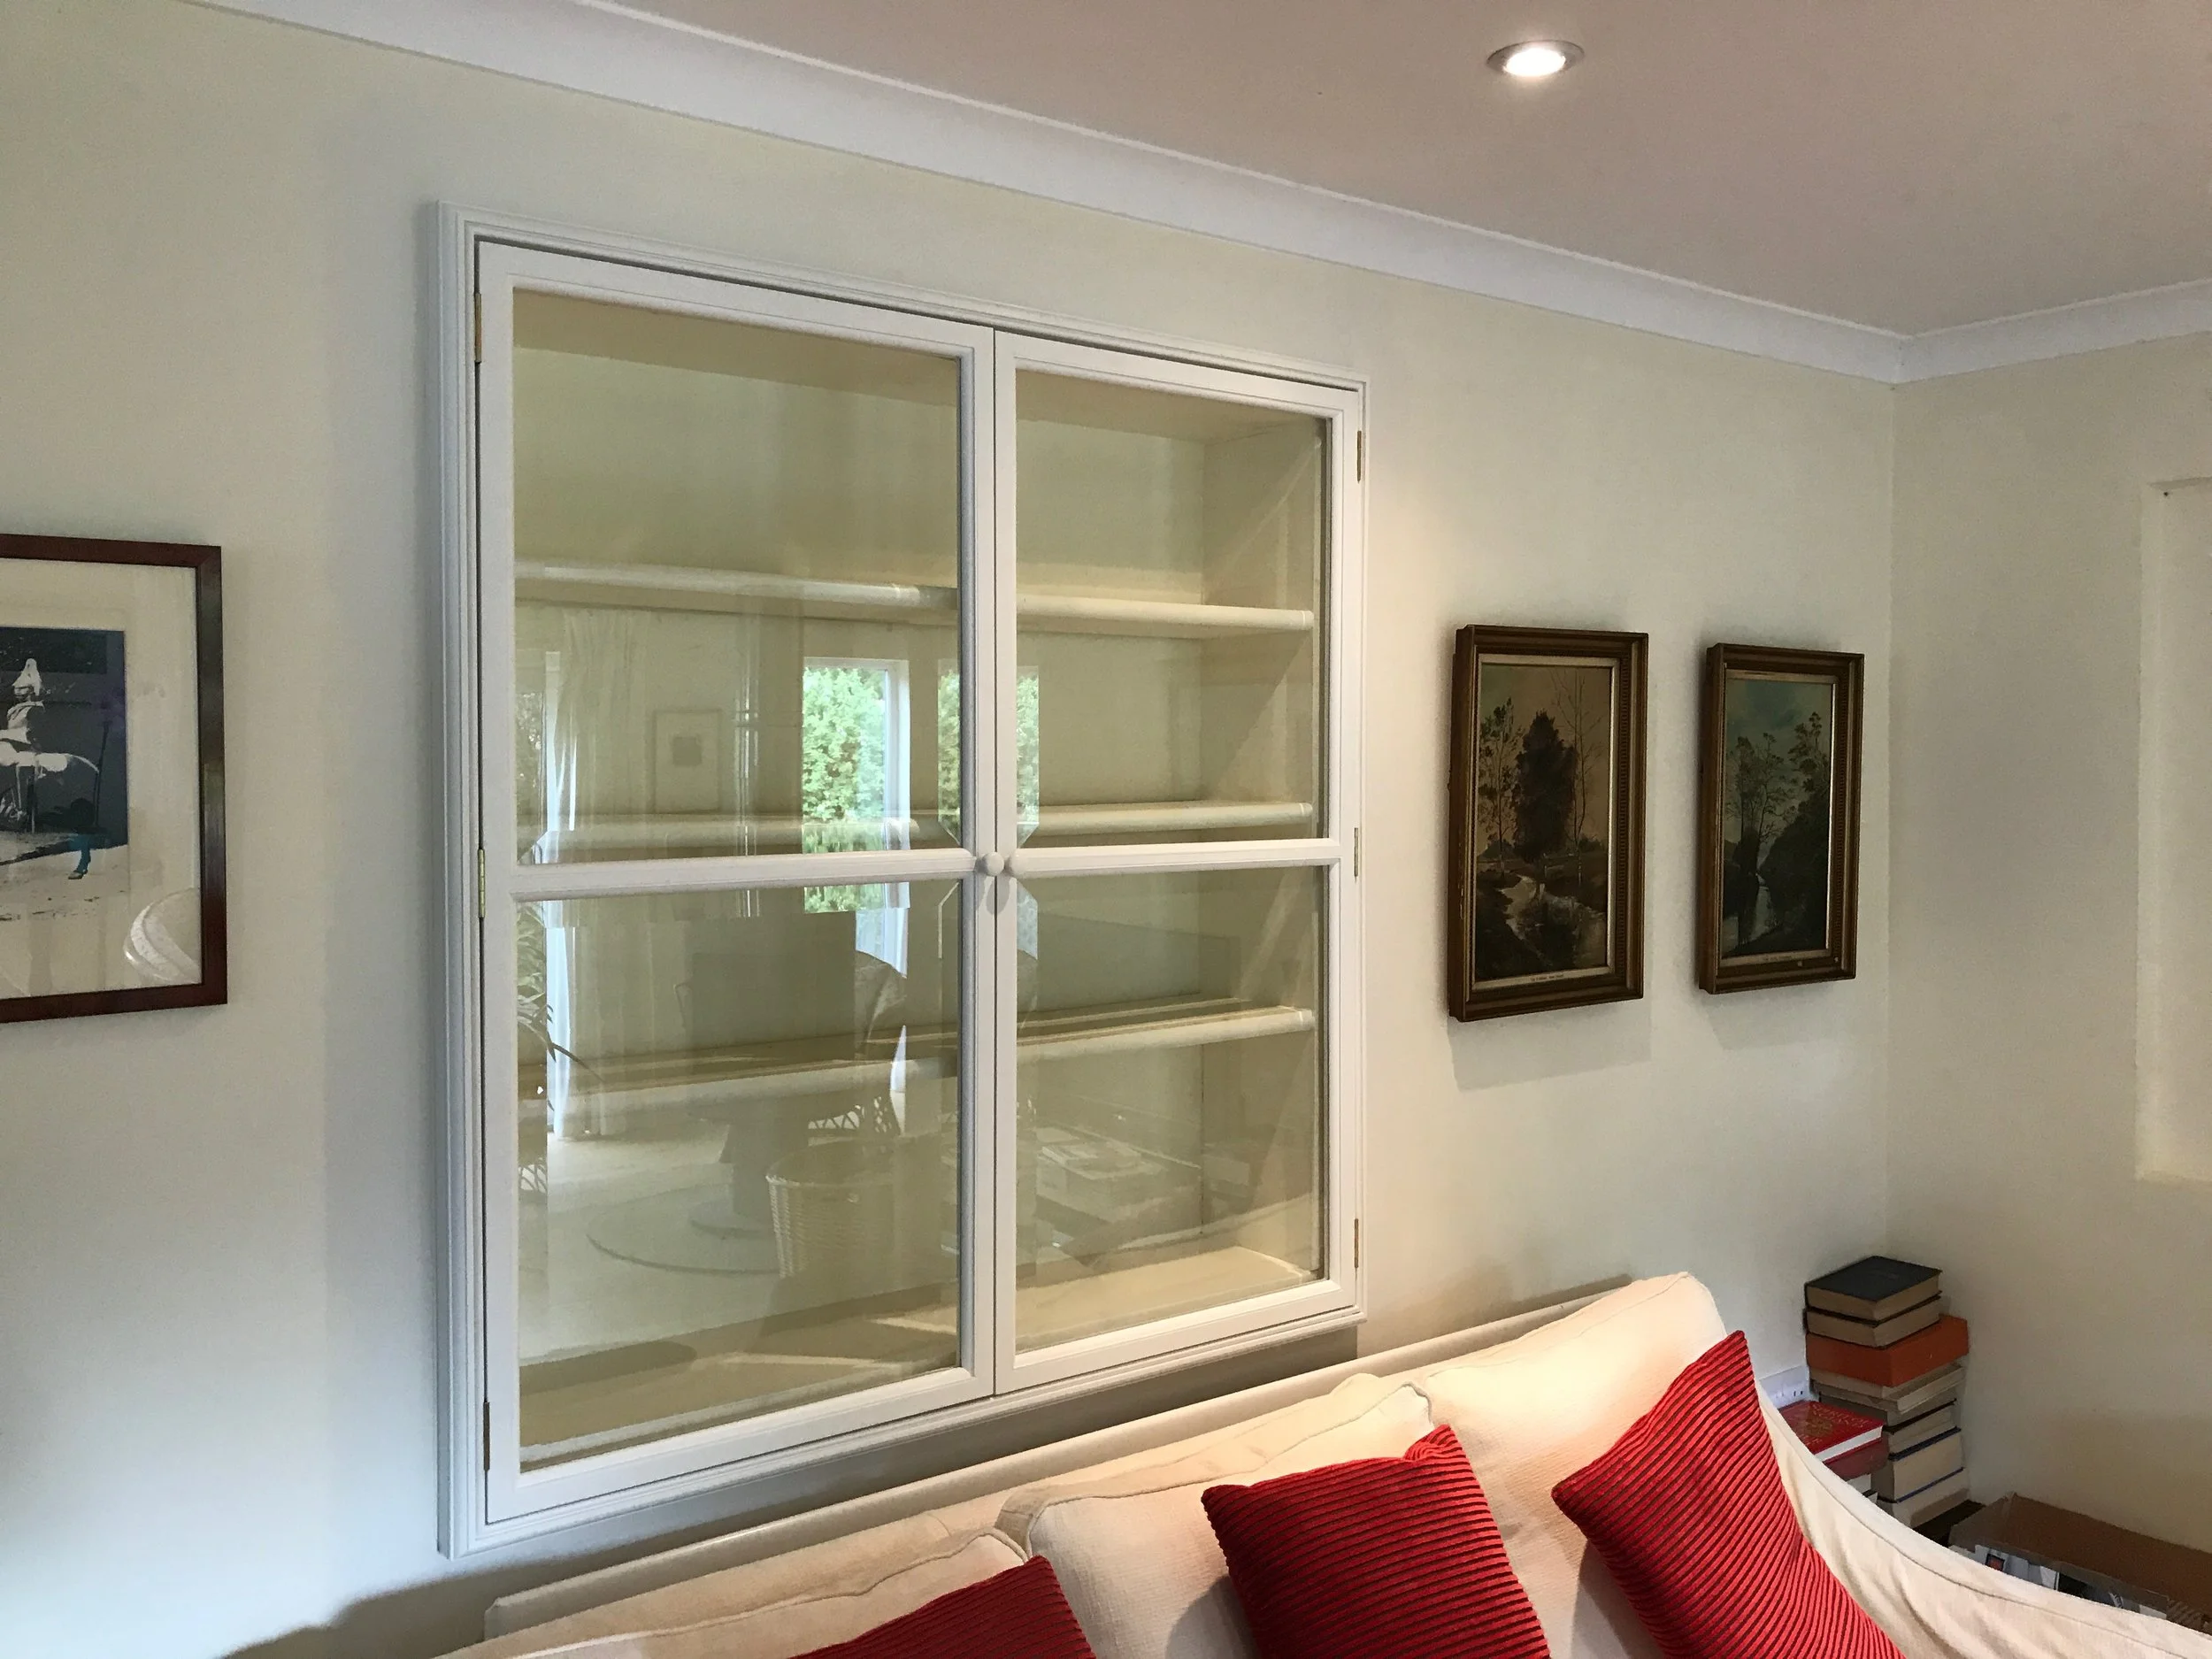
Display Case
The Brief - Create a protective display cabinet to showcase objects on an existing set of shelves.
Creating a Design of quality
Designing an object that is fit for a purpose, elegant in appearance, easy to install, affordable and maintainable is no small task.
Having found from experience that constructional joinery is rarely perfectly square or plumb it is best to account for these issues in the design from the outset. Armed with information after conducting a site visit that the existing architrave trim differed in width from top to bottom the frame is designed to the smallest dimension.
The final finish is to be white brush painted so Tulipwood (relatively stable) is perfect.
Designing a final covering trim that decorates the edge and hides the wall fixings both enhances the appearance and removes the need for plugging the frame on site.
All furniture choices are made at the design desk to ensure the frame dimensions will work, these are made up of hinges, handles, glazing, locks, catches etc.
Sizing the material for the doors and working out the conformation of the frame is tricky, you have to think about the style you wish to achieve while making sure you end up with a strong enough frame to secure the glazing.
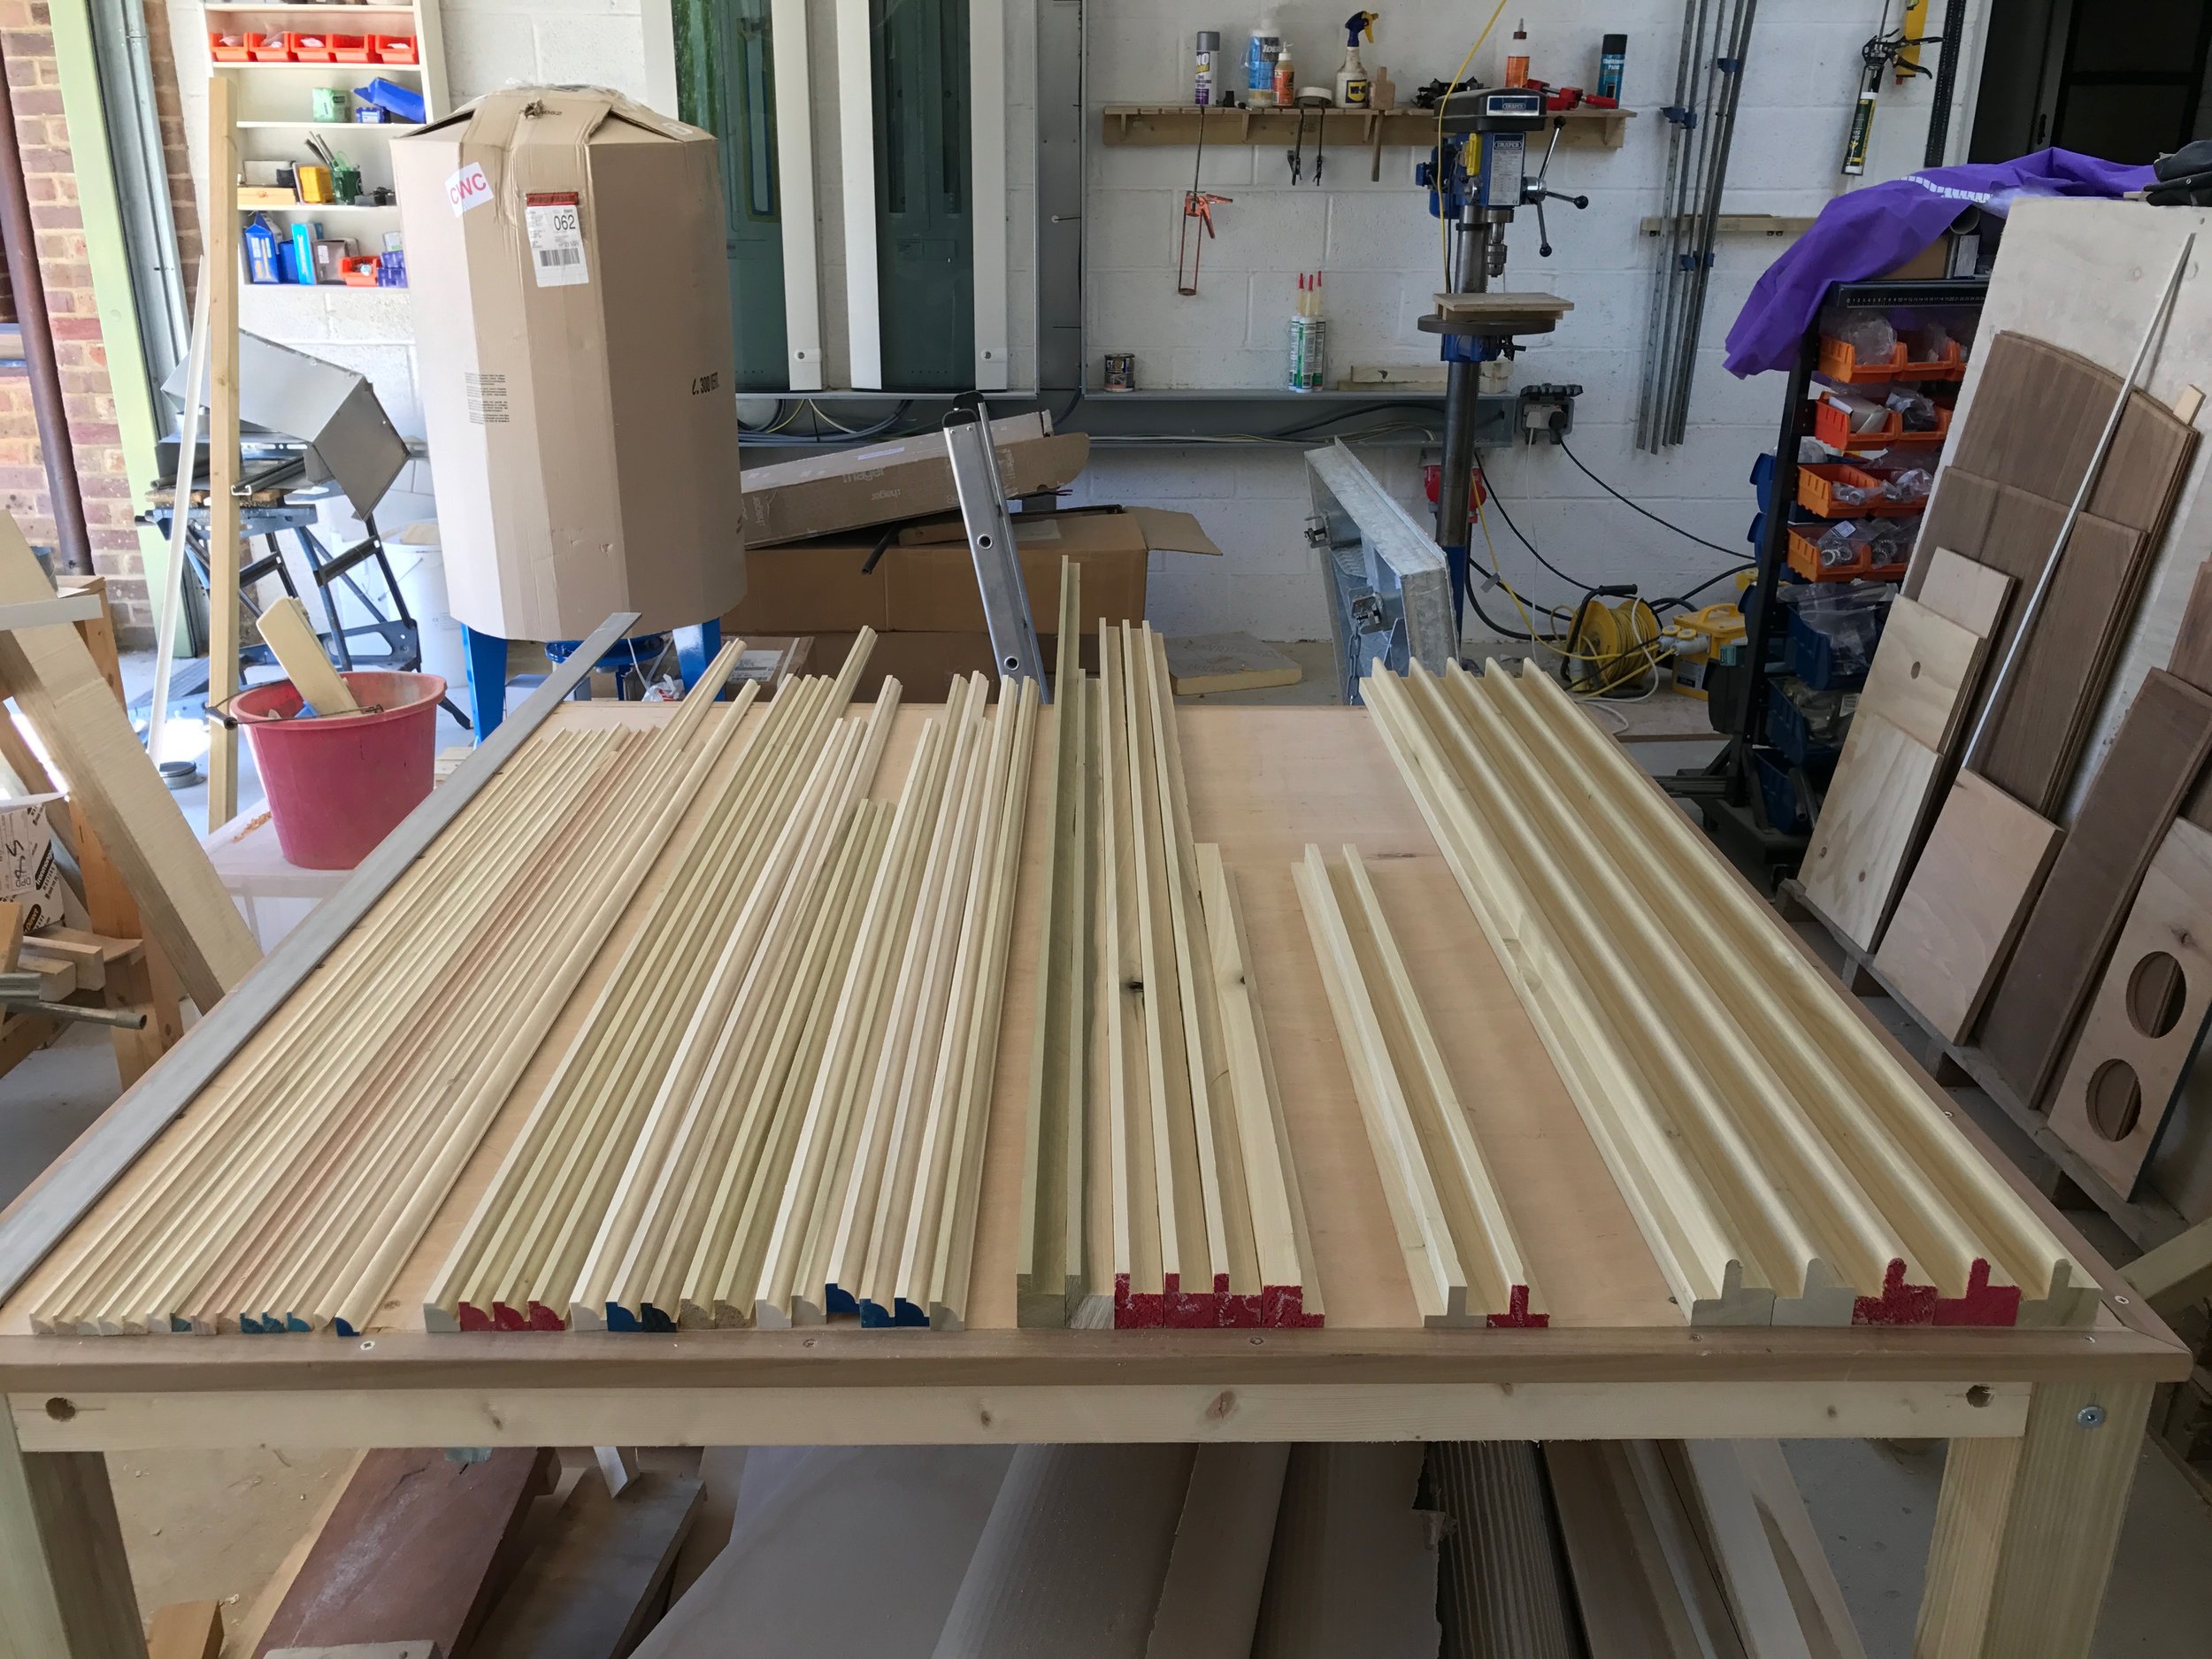
Poplar stock planed and profiled
Getting into the workshop
It is surprising how much stock timber is required to fulfill a design - 32m of profiled timber is required for this project. It is always recommended to have a spare component allowed for in each element to allow you to select an alternative due to a piece changing shape dramatically, accidental damage or better grain or appearance matching.
Possible issues at this stage - Wood movement, Tearout
Jointing the frame
A frame this size was given the extra strength of biscuits at the joints before being glued together. Make sure you take the extra time to get the frame as square as possible as any discrepancy in the frame will translate to the doors.
Possible issues at this stage - Glue up out of square, Damage to faces from glue & clamps

Door stock cut to size for jointing
Trim, Glazing beads, hinges and furniture
Everything next gets laid out on the bench. The trim is cut to length and mitred together as is the glazing beads. The doors weigh a lot less before the glazing is fitted so the fine tuning process of cutting and installing the hinges and furniture is best done at this stage.
Possible issues at this stage - Door binds due to lack of clearance from the frame.
Note - Mark the beads as they are normally slightly different lengths to get the perfect mitres.

Main frame dry clamp assembly
Creating the doors
To create the strongest frame possible traditional mortice and tennon joints are cut into the door frame material. The frames are dry assembled and the glass is trial fitted before any glue is applied to ensure everything will fit.

All components dry assembled with spacers to give a uniform margin between the frame and doors
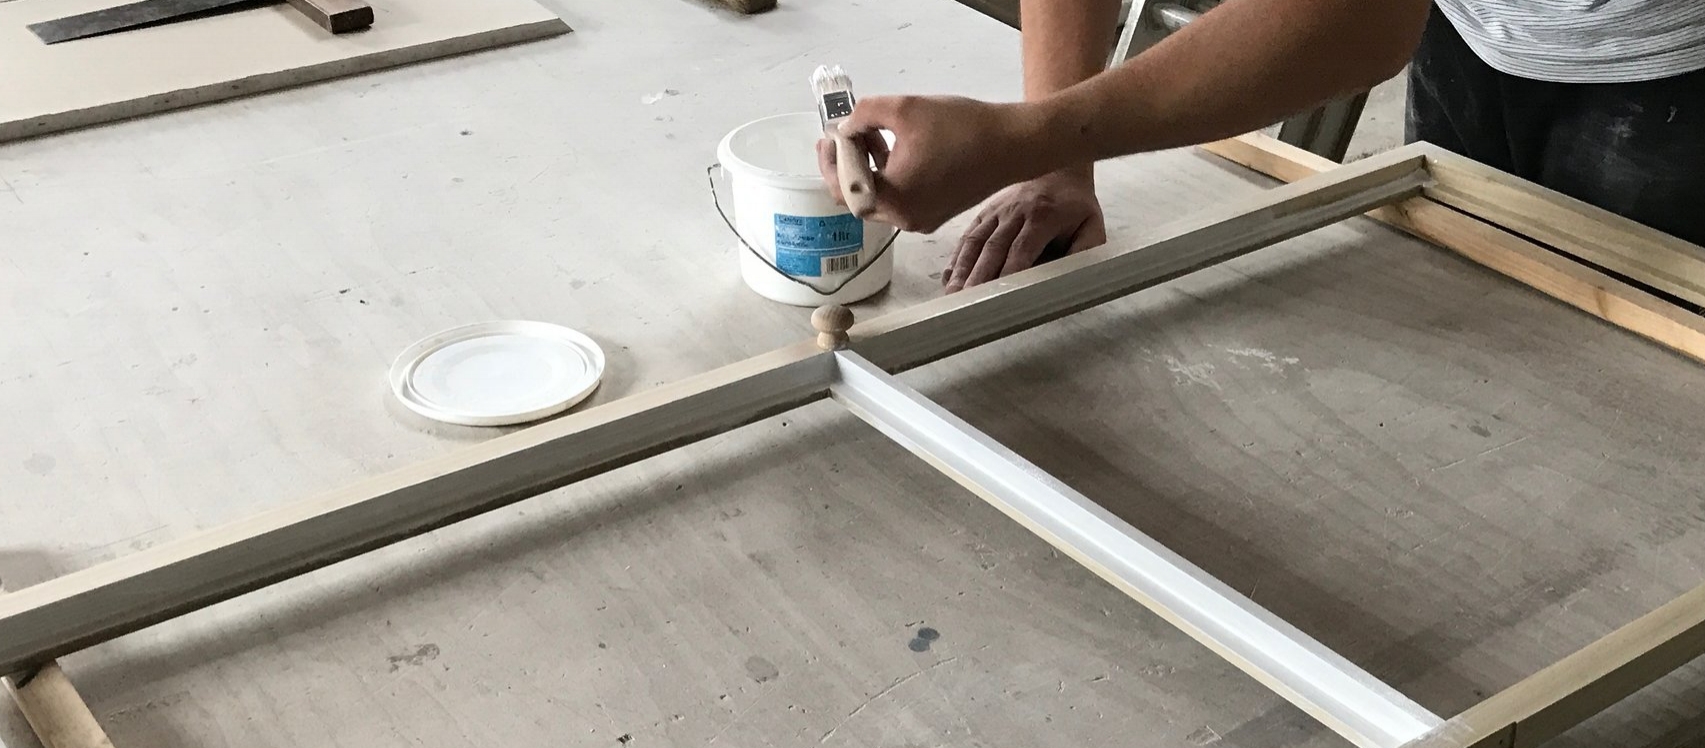
Applying an undercoat
Sanding & Undercoating
Always allow more time than you think for sanding. Any issues can be filled at this stage and a little more work at this stage will shine through at the end.
The whole frame is undercoated before any of the glazing is installed.
Glazing
Apply the glazing tape, install the glass with spacers, fix the trim with panel pins and send off for another undercoat and filling
Possible issues at this stage - Breaking the glass with a pin!, Sticking the glass off center.


Original architrave trim covering the edge of the shelving area
Installation
Stage 1 - Removal of the existing architrave trim
Stage 2 - Fix two screws top and bottom centrally in the frame and level to the wall
Stage 3 - Pack the corners to suit the wall surface (Left to right there was a 10 mm discrepancy!) Then mark the wall for the remaining fixings. Remove the frame and drill for wall plugs if required for masonry. Replace frame and fix
Stage 4 - Attach the doors and check the operation of the hinges
Stage 5 - Fix covering trim with pins to cover the wall fixings
Stage 6 - Decorate the trim, caulk the perimeter and touch up the wall paint
