

T&G Paneling
Achieving a traditional finish can give a fantastic look to a property. Making your own tongue and groove boarding allows you to apply any decoration you desire. You are able to make it from whatever material and in a size and thickness you need. The following project takes stock timber from roughly sawn to a finished item you can use.
Getting your stock ready
Your timber stock can begin the process in a variety of different states, for this project the ordered timber came from the merchants as 300mm wide boards. For any oversized stock or wainy edge (Still got the bark on the edges) the first job is to get it to a smaller size with an edge you can plane. The first thing to do if you have a usable edge is to use a combination square to mark a cut line to a dimension 10 - 15mm larger than your required finish size, if you have a wainy edge you can use a chalk line to mark a straight line to cut a usable edge first. Once the timber is marked use the band saw to cut as close to the line as possible. If you're going to use the fence make sure you still have the timber marked so that you can keep an eye on your cut line as it can easily end up wandering and you may end up with quite a tapered board.
28mm x 300mm+ x 2.4m Poplar Stock
Cutting down to a MANAGEABLE size
Long lengths of timber can quite often have significant amounts of twist and bowing that affect the length, if you cut them down to a smaller size you can reduce the effect and retain a lot more timber in the flattening process. Here the 2.4m lengths were cut in half to 1.2m with the intention of cutting then in half again once all the profiling is complete. If you have a radial or compound mitre saw with lots of space for lengths this job can be done quickly. If not a sharp saw and a bit of elbow grease will also get the job done.

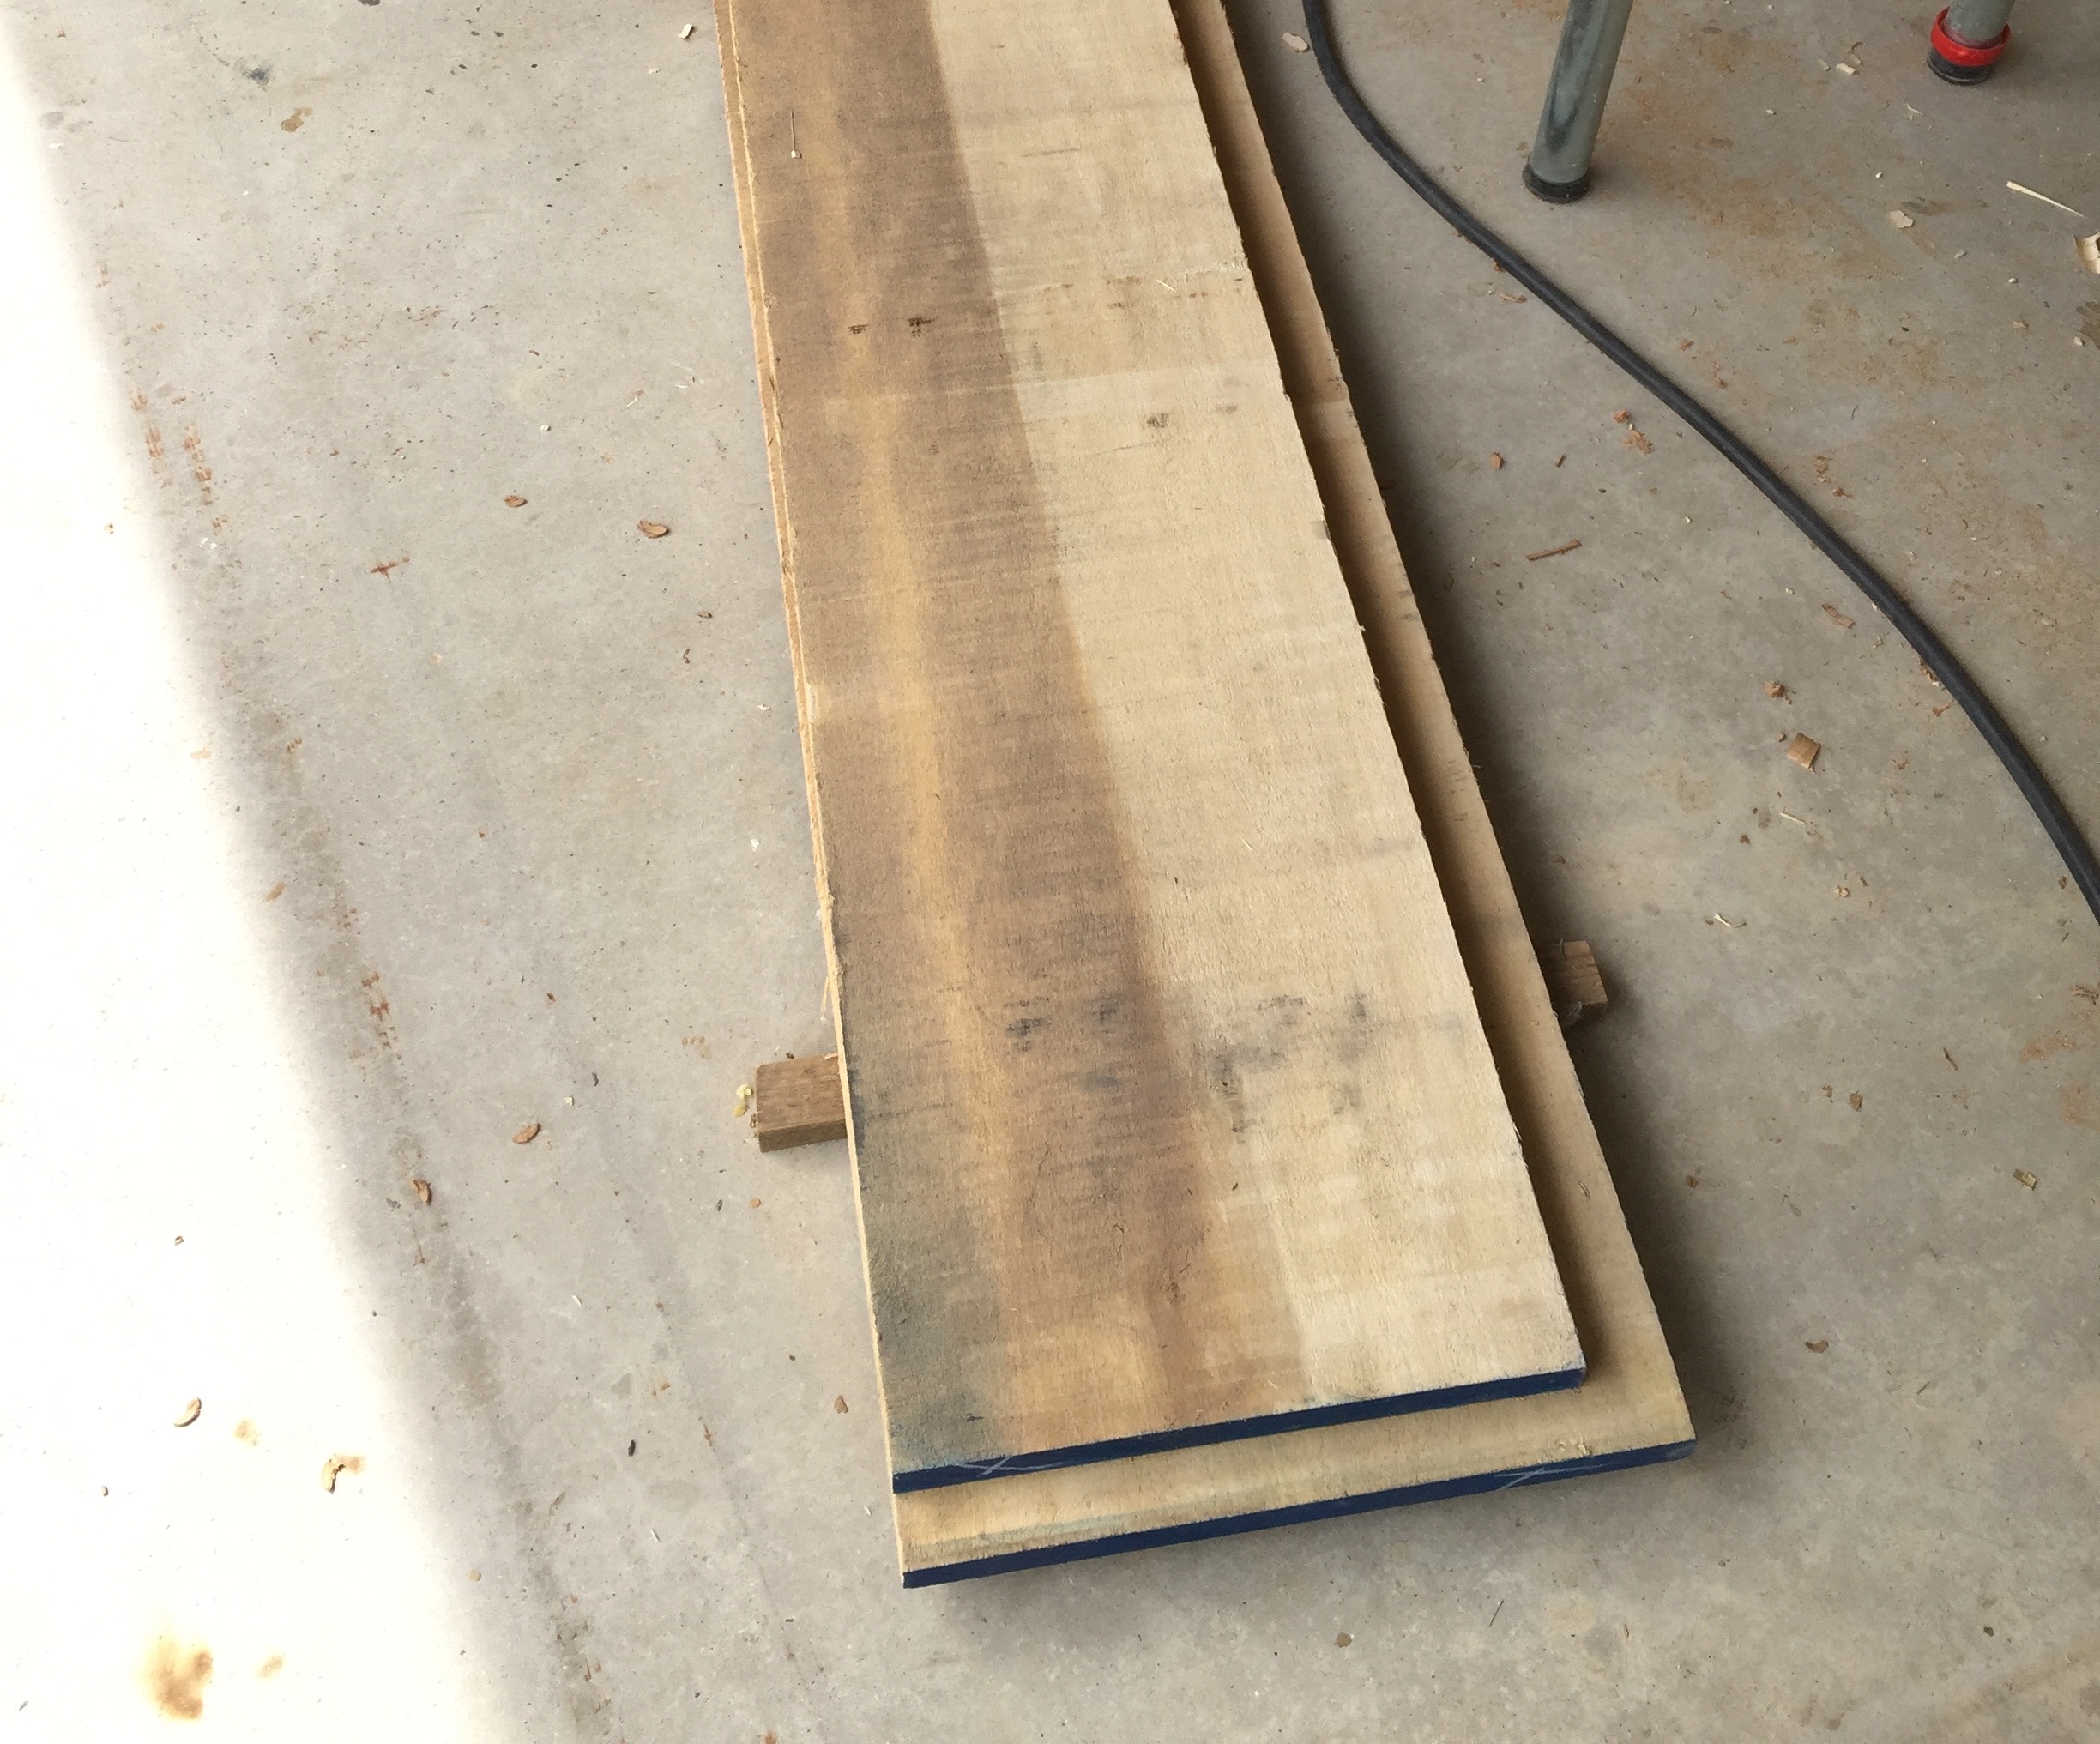
28mm x 140mm x 2.4m after being cut on the bandsaw
Flattening & Making square
Next in the process using the planer (or jointer as our friends across the pond like to call it) you need to get two perpendicular flat faces. This often requires one or two passes to flatten the wide face first taking quite an aggressive cut. Once you have this flat face this can be used up against the fence to get a flat face at 90 degrees to the first. Check you have a square piece with an engineering square and then mark the faces as square.

Cutting down long lengths helps minimise the effect of reaction defects
Thicknessing to size
Once you have a flat face you can thickness the stock to size. It helps to reduce the friction on the thicknesser bed with a bit of soap or wax before you start, then with the wider planed surface against the bed feed the material through taking a maximum of 3mm per pass to start, once you get close to your desired finish reduce the cut to between 0.5 - 2mm, this is dependant on what species of timber you're working on, how sharp your cutting blades are and the setting speed of your feed rate.

Timber neatly stacked after thicknessing. The timber on the left of the photo was undersize, this can be removed and used for other projects down the line.

Two flat faces perpendicular to one another
cutting to width
The boards at this point can quite often be of varying widths, a quick way of unifying them is to take a slice from the unplaned edge. This leaves you with less chippings in your bags and a useful offcut that can be used in the future. You may end up with saw marks but luckily most of the edge will be removed in profiling and will end up hidden in the joint.

Ripping down the timber's length creates lots of dust, if you have the ability to have extraction over your saw guard it's worth while putting it on.
Profiling
Next to create the profiling we use the spindle molder with a 125mm diameter cutter head fitted with a selection of cutter profiles (See technical drawing at the start for more). This is a good point to select your seen face and edge as you can often lose defects in the removed material. The first cut is with the half round detail with the stock up on edge. After a quick tool change the second profile (the tongue) is cut with the stock going through with it's face downward on the table. One final tool change to the groove profile and the final profile can be added, the stock is sent through with the same face orientation to the table as before (Important so that the T&G line up).
